My toddler loves Practical life activities in the kitchen and I want to make sure I involve him as much as possible in my day-to-day activities of preparing food. But when and where do you start? I found these 10 essential food prep skills to be the perfect guideline to help you get started without feeling overwhelmed. These activities will help your toddler build the necessary skills to become confident in the kitchen and eventually enjoy preparing their own meals.
Practical life activities in the kitchen aim to help toddlers learn practical skills that will serve them on their journey towards independence. These activities help build self-confidence, practice problem solving while fostering a healthy relationship with food and eating in general.
There is a multitude of skills to learn in a kitchen, especially for a toddler, but you will be amazed at how much they are already capable of. I’m going to simplify the information as much as possible so you will know when, where, and how to start as well as which tools you’ll need. Let’s get cooking!
This post contains affiliate links where I will earn a commission if you purchase any of the products (at no extra cost to you).
How To Start Montessori Practical Life In The Kitchen?
The most important goal with Practical life activities in the kitchen is to make our children feel included and help them build confidence in their own abilities. It is not necessarily to get them to do all of this on their own. They will get there eventually but it is more important to consider how they feel about the process.
So we don’t need to rush them to acquire all of these skills but instead, we should gradually involve them in our everyday cooking activities. Observe and notice what they are interested in and what they are struggling with – and go from there.
Children will naturally be interested in what we are doing and once they start showing an interest and want to get their hands dirty, it helps to have the right tools and set up ready.
You don’t always need child-sized tools but it does help. Especially when considering safety. We don’t want to discourage our children from the process of cooking by giving them tasks that are too difficult in terms of skill level or due to using the wrong tools.
We can take the following steps to ensure we are setting our children (and ourselves) up for success.
- Set up a child-friendly work space
- Kit it out with the tools they will need (only the essentials)
- Provide lots of oppertunities to practice and have fun in the kitchen
- Make them part of cleaning up (even in the smallest way)
- Talk about safety and supervise at all times (have a first-aid kit in the kitchen)
How do you set up a Montessori kitchen?
Preparing a space for your child to practice food preparation skills will be essential. It does not have to be costly and you probably already have most of the things you will need at home.
- A cupboard or shelf to keep utensils, crockery and kitchen equipment
- A sturdy flat surface for food prep (low table or your kitchen counter with a kitchen helper
 )
) - Access to water by means of a water dispenser or a step stool to the sink (this is a bonus optional)
- Access to child-size cleaning equipment
- Illustrated children’s cookbooks and recipe cards (Recipe books with visual instructions like these free ones from Radish Kids[visit www.radishkids.com for free illustrated recipes]
10 Essential Food Prep Skills for Toddlers
When practicing new skills, the Montessori way is always to simplify the exercise by extracting the essence of what you are trying to teach. We isolate the skill so it’s easier to concentrate for young children and so they can repeat the exercise as often as necessary.
These are the isolated skills that we can focus on and build our activities around. I also indicate how difficult each skill is to achieve to give you some idea of what types of activities you can introduce to your child. This is just a rough estimation and not prescriptive by any means. Remember to always observe and follow the child.
| Level of difficulty | Suggested age |
|---|---|
| One star * | 18 months to 2 years old |
| Two stars ** | 2 to 2.5 years old |
| Three stars *** | 2.5 to 3 years old |
| Four stars **** | 3 years and up |
1/Transferring (Pouring & Scooping)

Level of difficulty: *
Pouring is the perfect first activity you can offer your young toddler (inside and outside the kitchen) and is a very necessary skill to acquire. Eventually, they can pour themselves a glass of water or pour liquids into a bowl to make pancake batter.
Start with a small jug (ceramic/stainless steel milk or cream jug) and water or lentils. You will demonstrate the first time showing you holding the jug by the handle with one hand and supporting with the second. Then they can practice as often as they want.
Scooping is another crucial skill that requires coordination and therefore lots of practice. We can provide a variety of scooping implements, containers (receptacles), and materials for our child to practice scooping and transferring. Start with larger scoops and receptacles and work your way to smaller ones as your child becomes more coordinated.
What you will need
- Clear or ceramic cream/milk jug
- Glass to pour into (clear is best)
- Tray to contain spills
- Drying cloth to wipe up spills
- Water/lentils/dried beans
Foods to scoop
- Cereal
- Yogurt
- Rice/Quinoa/Couscous
- Flour and sugar for baking
Transferring activities

- Pouring a glass of water from a jug
- Pouring the juice from the citrus squeezer
- Pouring milk into cereal
- Scooping cereal into a bowl
2/Mashing
Level of difficulty: *
Mashing is easy enough for very young hands and requires little coordination, but it is so satisfying and enjoyable. Children can use any masher you have at home but it would be nice for them to eventually have their own masher (mini) in their workspace.
Tools you will need
- Potato masher
- Sturdy bowl that’s big enough to fit the masher
Mashing activities
- Mash ripe bananas to bake banana bread
- Mash avocados for guacamole or to eat on toast
- Make mash pototoes
3/Peeling
Level of difficulty: * (by hand) ** (using a vegetable peeler)
One of the first food preparation activities we can offer our young toddlers (12 months+) is peeling a banana (cut a slit down the side of the banana and then cut the banana into discs) then a tangerine and later perhaps a boiled egg.
When they get a little older (24 months +) they can start peeling carrots and other root vegetables with a vegetable peeler.
Tools you will need
- Hands
- Vegetable peeler
- Chopping board
- Tray
- Bowel to contain peelings
- Cloth to clean up
- Apron
Peeling activities
| Food to peel by hand | Food to peel with a vegetable peeler |
|---|---|
| Banana | Carrot (best to start with) |
| Mandarin/Orange | Courgette/Zucchini |
| Boiled egg | Sweet potato & other root vegetables |
4/Spreading
Level of difficulty: **
The only way to become better at spreading is to practice spreading. Give your child a piece of toast and a different spread and allow them to enjoy and slowly get better at this seemingly simple (but in reality very complicated) activity.
Tools you will need
Spreading activities
- Spreading Hummus onto crackers or wraps
- Spreading jam on toast
- Spreading mashed avocado on toast
- Spread tomato sauce on pizza bases
- Spread icing on cupcakes
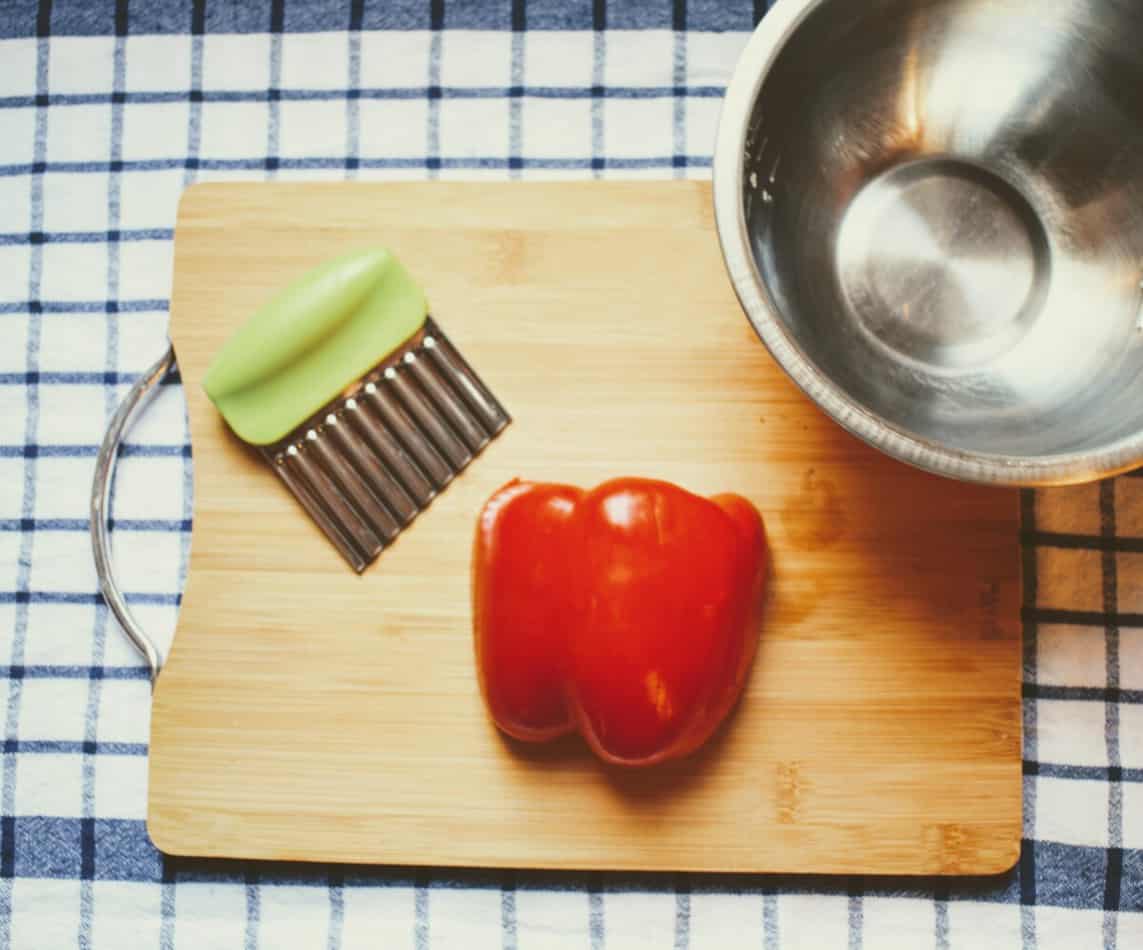
5/Cutting & Slicing
Level of difficulty: I have indicated the level next to each tool mentioned below
I imagine that most people do not think it’s a good idea to give their toddler a sharp cutting device but I can assure you that if you follow the correct path and supervise religiously, your child can learn to use a knife safely. Keep in mind that we have to start somewhere and that giving your 6-year-old a sharp knife straight out of the gate is probably not safe either.
Tools you will need
- Wavy cutter *
- Wavy cutter with handle or wood knife *
- Nylon knife **
- Children’s steel knife ***
- Egg slicer *
- Apple corer & wedge slicer **
You do not need all the knives at once. You should start with the wavy cutter and progress to one of the other suggested knives. There are some wonderful suggestions and advice with regards to knife progression out there (like this post from How We Montessori) that I will most likely follow with my son. I also like this article by Happy Kids Kitchen about teaching basic safety and knife skills to toddlers.
My son has recently turned two and he still loves his wavy cutter (he started using it around 18 months). He also uses his knife from his weaning set to cut bananas. The apple wedge cutter & corer is also very popular.
Cutting activities
- Cut fruit for fruit salad or smoothies
- Cut a hard boiled egg for breakfast
- Cut cucumbers, carrots or other vegetables for a snack/to make a salad
- Cut apple wedges and serve with a drizzle of honey and a sprinkle of cinnamon
6/Whisking

Level of difficulty: **
This will take a lot of practice because it requires a bit of wrist action. There are so many enjoyable activities that offer opportunities to practice – your toddler will be a pro in no time.
Tools you will need:
Whisking activities
- Whisking eggs for scrambled egg
- Whisking batter
7/Juicing
Level of difficulty: **
Juicing is a versatile activity that can easily be adjusted for every age. It is great for strengthening little hands and just a really fun process for kids. If your toddler is too young to do the squeezing portion, you can squeeze and they can pour. As they get older (closer to three), we can add more steps to the process. Cut the oranges/Squeeze the oranges/Pour the juice.
Tools you will need:
- Tabletop manual juicer
- Small clear jug
- Drinking glasses
- Non-slip mat or a folded tea towel (to prevent the juicer from moving)
- Chopping board
- An age appropriate knife (if your child is old enough to cut the oranges in half)
Juicing activities:
- Add some lime/lemon juice to cold water
- Squeeze oranges for orange juice
- Squeeze lemon juice for salad dressings
- Make juice to add to smoothies
8/Grating & Grinding
Level of difficulty: ***
Tools you will need
- Small grater with handle
- Wood cutting board
- Tea towel or cleaning cloth
- Pestle and mortar
Grating activities:
- Grating a carrot (they could peel it beforehand too) and making a carrot & orange salad
- Grating a cucumber to make Tzaziki
- Grate apple for overnight oats
- Grate a cinnamon stick to flavor your breakfast or sprinkle on apples or bananas
- Grinding spices
- Grinding fresh herbs for sauces or pestos
9/Kneading & Rolling dough
Level of difficulty: ***
Kids love playing with dough, but kneading (folding the dough over and pressing down with the palms) takes a level of coordination and strength in the hands & arms. This is a fantastic exercise to further strengthen the hands and arms and it’s so rewarding to see the fruits of your labor come out of the oven.
The rolling might be slightly easier but still requires a bit of practice. We can also offer our children these skills to practice with playdough when they are much younger.
Tools you will need:
- Smaller sized rolling pin
- Stable work surface
Kneading & Rolling activities:
- Making pizza
- Baking bread

10/Cracking eggs
Level of difficulty: ***
This skill needs a lot of practice. I know some grownups that have yet to master the skill or feel confident about cracking eggs. It can be challenging but also fun. The more we let our children practice the more they will learn how to hold the egg carefully and how much pressure to use when tapping the egg. This one can get very messy!
Tools you will need:
- At least 4 to 6 eggs
- Two bowls (one for cracked eggs and one for the shells)
- Something to wipe up the spills
This article by Lovevery lists some helpful tips for egg cracking with kids.
Egg cracking activities:
- Make omlettes or scrambled eggs
- Bake something or make pancakes
Happy cooking!